Bold Backsplash on a Budget: DIY Peel-and-Stick Tile Tutorial
Revamp your kitchen with a stunning, budget-friendly DIY peel-and-stick tile backsplash! In 2025, bold backsplashes with geometric or Moroccan-inspired patterns are a top trend in UK homes, offering a renter-friendly way to add personality without breaking the bank. This easy weekend project is perfect for beginners and delivers a high-impact look for under £50. Follow our step-by-step guide to create a vibrant, modern kitchen backsplash that’s removable and eco-conscious.
Why Choose Peel-and-Stick Backsplash Tiles?
Peel-and-stick tiles are a game-changer for DIY kitchen makeovers:
Affordable: Costs £10–£40 for most kitchens, far cheaper than traditional tiles.
Renter-Friendly: Easy to apply and remove without damaging walls.
Customisable: Available in trendy patterns like hexagons, subway tiles, or Moroccan designs.
Low Maintenance: Wipe-clean surfaces suit busy UK households.
Eco-Friendly: Many brands use recyclable materials, aligning with 2025’s sustainability trends.
Whether you’re refreshing a small flat or upgrading a family kitchen, this project is quick, mess-free, and stylish. Let’s dive in!
Materials You’ll Need
Peel-and-stick tiles: Choose vinyl or composite tiles in bold patterns (e.g., geometric, Moroccan, or subway).
Measuring tape: For accurate wall measurements.
Level and pencil: To mark straight lines.
Utility knife or scissors: For cutting tiles to size.
Cleaning supplies: Rubbing alcohol, cloth, and mild detergent for wall prep.
Grout pen or caulk (optional): For a tiled look between gaps.
Optional: Tile edge trim for a polished finish.
Estimated Cost: £20–£50, depending on tile quality and kitchen size.
Step-by-Step DIY Guide for Peel-and-stick Backsplash
Step 1: Measure Your Space
Measure the backsplash area (typically behind the sink or cooker) to calculate how many tiles you need.
Width x Height: Multiply to get the square footage.
Add 10%: Account for cuts or mistakes.
Check patterns: For geometric or Moroccan tiles, ensure the pattern aligns across the space.
Pro Tip: Sketch your layout on paper or use a free app like RoomSketcher to visualise the design.
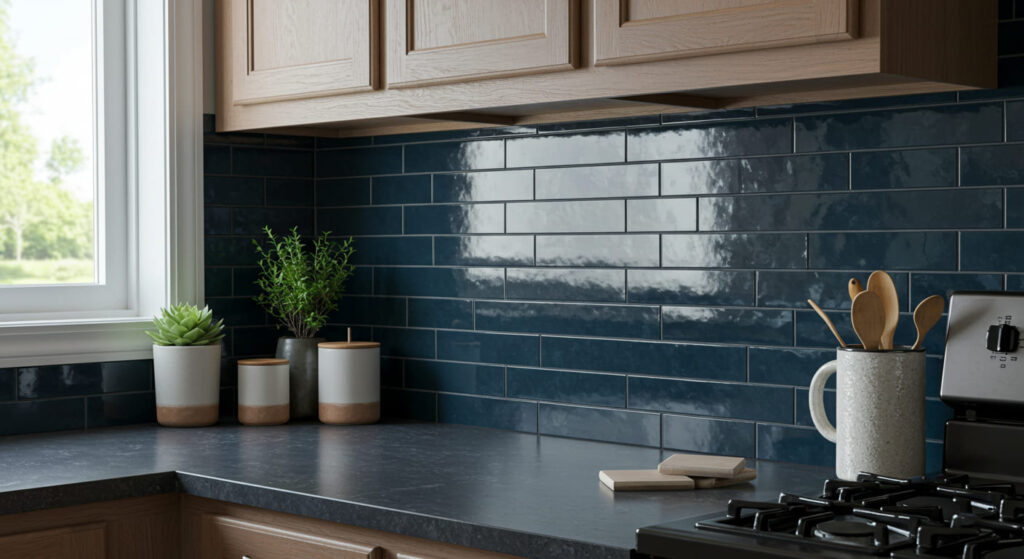
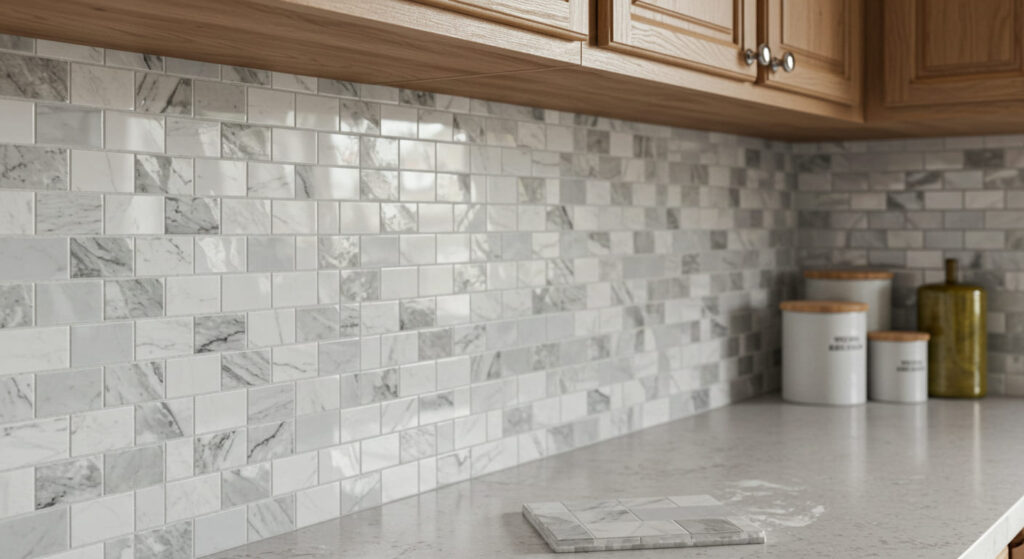
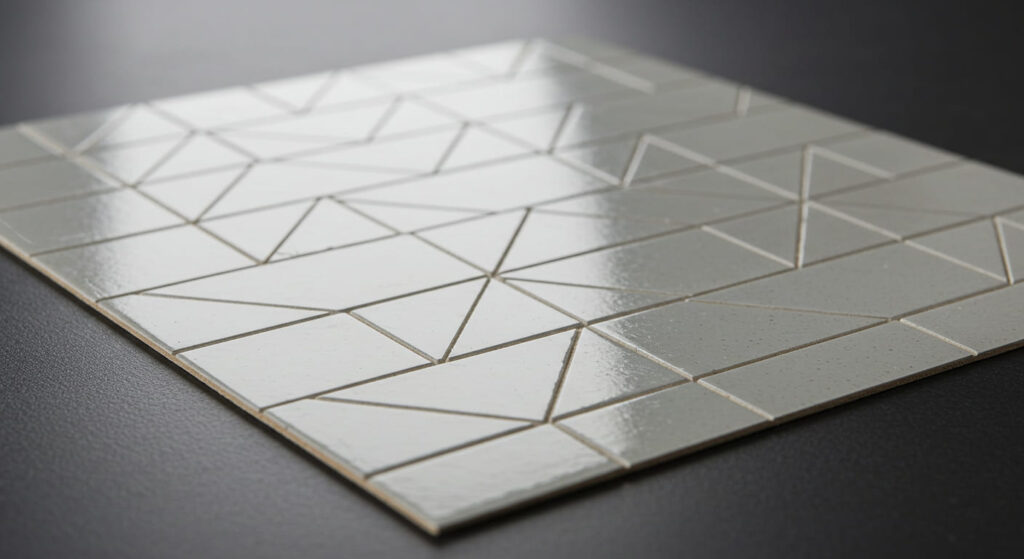
Step 2: Choose Your Tiles
Select peel-and-stick tiles that match 2025 trends:
Geometric: Hexagons or chevrons for a modern vibe.
Moroccan: Fish scale or arabesque for a bold, artisanal look.
Subway: Classic white or coloured for timeless appeal.
Eco-Friendly Options: Look for brands like Smart Tiles or RoomMates, which use recyclable materials.
Budget Tip: Check Amazon UK, B&Q, or Dunelm for affordable options, starting at £5 per square metre.
Step 3: Prep the Wall
A clean, smooth surface ensures tiles stick properly:
Clean: Wipe the wall with rubbing alcohol or mild detergent to remove grease and dust. Dry thoroughly.
Smooth: Sand any rough patches or fill small holes with filler.
Prime (optional): Apply a thin layer of primer if the wall is textured or porous.
Step 4: Plan the Layout
Mark guidelines to keep tiles straight:
Find the centre: Use a level to draw a vertical line at the midpoint of your backsplash.
Dry lay tiles: Arrange tiles on a table to test the pattern and plan cuts around outlets or edges.
Start at the centre: This ensures symmetry, especially for bold patterns.
Pro Tip: Use spacers (or included tile gaps) for even placement, mimicking real tiles.
Step 5: Apply the Tiles
Peel and stick with confidence:
Peel backing: Remove the adhesive backing carefully.
Stick tiles: Press firmly from the centre outward to avoid air bubbles. Align with your guideline.
Cut to fit: Use a utility knife or scissors to trim tiles around outlets, corners, or cabinets. Score lightly and snap for clean cuts.
Step 6: Add Finishing Touches
Enhance the professional look:
Grout Effect (Optional): Use a grout pen or caulk to fill gaps for a realistic tiled appearance.
Edge Trim: Apply adhesive trim or metal strips along exposed edges.
Clean Up: Wipe tiles with a damp cloth to remove fingerprints or dust.
Eco Tip: Choose water-based caulk or grout pens to reduce environmental impact.
Step 7: Test and Admire
Step back and check for loose tiles or misaligned patterns. Press down any edges that aren’t sticking. Test durability by wiping with a damp cloth. Your bold backsplash is now ready to shine!
Maintenance Tips for Peel and stick Backsplash
Clean: Wipe with a mild detergent and soft cloth. Avoid abrasive scrubbers.
Check Adhesion: Press down any lifting corners after humid cooking sessions.
Remove Safely: For renters, peel tiles off slowly and use a hairdryer to loosen adhesive if needed.
Refresh: Replace individual tiles if damaged or to update the design.
Why This Peel and stick Backsplash Project Rocks
This DIY peel-and-stick backsplash is affordable, renter-friendly, and perfect for UK kitchens of any size. It delivers 2025’s bold aesthetic trends without the mess or cost of traditional tiling. Plus, it’s a quick project that boosts your kitchen’s style and functionality in just a few hours.
Get Involved!
We’d love to see your bold backsplash! Share your before-and-after photos in the comments or tag us on social media with #DIYKitchenBacksplash. Have questions about tile brands or installation tips? Drop them below, and our community will chime in!
Disclaimer: Ensure tiles are heat-resistant if placed near a cooker. Follow safety guidelines when using cutting tools.