Upcycled Kitchen Island: Turn an Old Table into a Prep Station
Transform your kitchen with a stylish, budget-friendly DIY upcycled kitchen island! In 2025, blending sustainability with creativity. This project turns an old table or dresser into a functional prep station, perfect for small kitchens or those craving extra counter space. Follow our step-by-step guide to create a custom island that’s eco-friendly, affordable, and packed with charm.
Why Upcycled Kitchen Islands?
Upcycling an old table into a kitchen island offers multiple benefits:
Budget-Friendly: Repurpose furniture from charity shops or your attic for under £100.
Sustainable: Reduces waste by giving old items new life.
Customisable: Tailor the size, style, and features to your kitchen’s needs.
Space-Saving: Ideal for compact kitchens, with options to add storage or mobility.
Whether you’re a seasoned DIYer or a beginner, this project is achievable in a weekend. Let’s get started!
Materials You’ll Need for Upcycled kitchen island
Old table or dresser: Sturdy, ideally 80–120 cm long (check local charity shops, eBay, or Freecycle).
Butcher block or plywood: For the countertop (optional, if replacing the table top).
Eco-friendly paint or stain: Chalk paint or low-VOC options for a durable finish.
Sandpaper: Medium (120-grit) and fine (220-grit) for smoothing surfaces.
Wood sealant: Water-based polyurethane for food-safe protection.
Castor wheels (optional): For a mobile island.
Hardware: Hooks, knobs, or towel rails for added functionality.
Optional: Adhesive tiles or contact paper for a decorative top.
Estimated Cost: £30–£100, depending on materials sourced second-hand.
Step-by-Step Upcycled kitchen island DIY Guide
Step 1: Source Your Table
Find a sturdy table or dresser at a charity shop, reclamation yard, or online marketplace like Gumtree. Look for solid wood or MDF with a flat surface. A table 80–120 cm long and 60–90 cm wide works well for most kitchens.
Pro Tip: Check for wobbly legs or damage—minor issues can be fixed, but avoid heavily warped pieces.
Step 2: Plan Your Design
Decide on your island’s purpose: extra counter space, storage, or a casual dining spot. Sketch a layout to confirm it fits your kitchen (measure your space first!). Consider adding:
Shelves or drawers for storage.
Wheels for mobility.
Hooks for utensils or towels.
Step 3: Prep the Surface
Clean and prep your table for a professional finish:
Clean: Wipe with a damp cloth and mild detergent to remove grime.
Sand: Use 120-grit sandpaper to smooth rough areas, then 220-grit for a fine finish.
Repair: Fill cracks with wood filler and sand again once dry.
Eco Tip: Use a dust mask and collect sawdust for compost or future projects.
Step 4: Upgrade the Countertop (Optional)
For a food-safe prep surface, replace or cover the table top:
Option 1: Butcher Block: Cut a butcher block to size (or have it cut at a hardware store like B&Q). Secure with wood glue and screws from underneath.
Option 2: Plywood + Tiles: Cover plywood with adhesive tiles for a tiled look. Seal edges with caulk.
Option 3: Stain or Seal: If keeping the original top, sand and apply food-safe sealant.
Budget Tip: Check salvage yards for discounted butcher block offcuts.
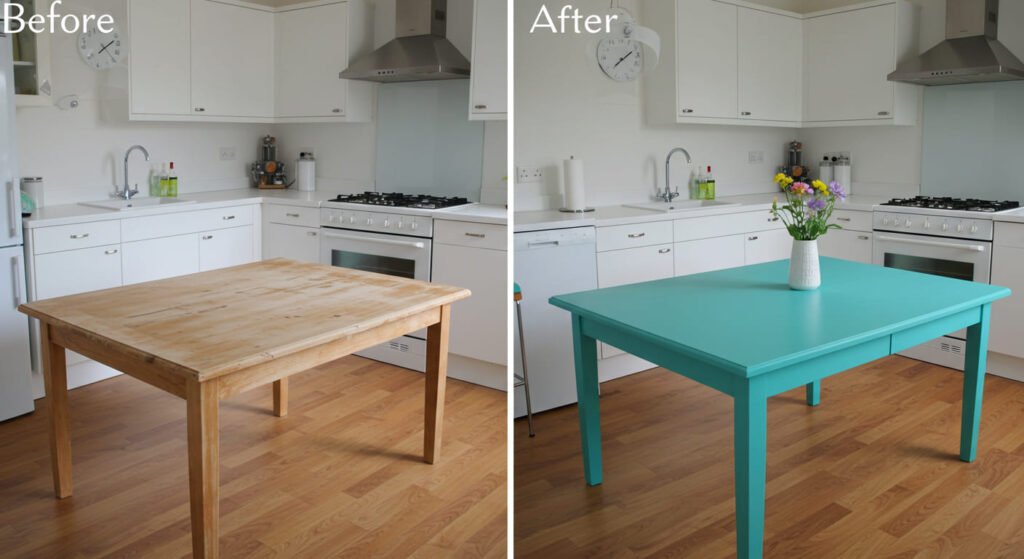
Step 5: Paint or Stain
Add personality with eco-friendly paint or stain:
Choose a finish: Chalk paint for a matte, rustic look or low-VOC eggshell for durability. Trending 2025 colours include sage green, navy, or terracotta.
Apply paint: Use a brush or roller for even coverage. Apply 2–3 thin coats, sanding lightly between coats.
Seal: Apply water-based polyurethane to protect against spills and scratches.
Step 6: Add Functional Features
Customise your island for practicality:
Castor Wheels: Attach four locking wheels to the legs for mobility. Drill pilot holes and secure with screws.
Hooks or Rails: Install metal hooks or a towel rail on the sides for utensils or tea towels.
Shelving: Add a lower shelf using reclaimed wood or pre-cut MDF for extra storage.
Pro Tip: Ensure wheels are heavy-duty if the island will hold heavy appliances.
Step 7: Style Your Island
Make it a focal point:
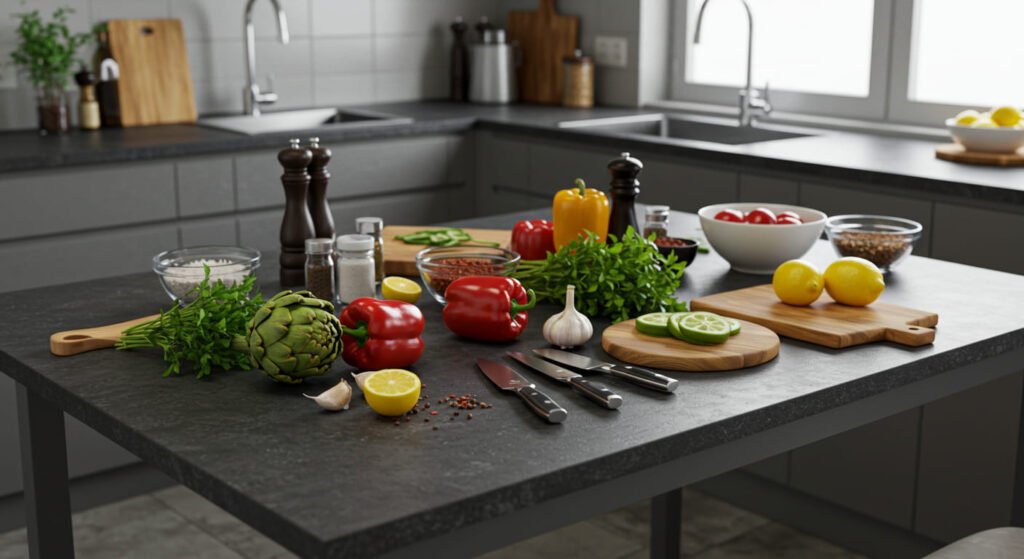
Add accessories: Place a cutting board, ceramic jug, or potted herb on top.
Incorporate trends: Use woven baskets for storage or brass knobs for a modern touch.
Keep it functional: Ensure the surface is clear for prep work or dining.
Step 8: Test and Adjust
Place the island in your kitchen and test its stability. Check that wheels lock securely and the surface is level. Make adjustments (e.g., tighten screws or sand uneven edges) as needed.
Maintenance Tips for Upcycled kitchen island
Clean Regularly: Wipe with a damp cloth and mild soap. Avoid harsh chemicals.
Reseal Annually: Reapply sealant to the countertop to maintain food safety.
Check Wheels: Tighten screws on castor wheels every 6 months if mobile.
Protect Paint: Use coasters or mats to prevent scratches on painted surfaces.
Why Upcycled Kitchen Island Project Rocks
This upcycled kitchen island is sustainable, affordable, and tailored to your space. It’s perfect for small UK kitchens, adds storage, and elevates your decor with 2025’s rustic-modern trends. Plus, it’s a fun weekend project that saves money and reduces waste.
Get Involved!
We’d love to see your upcycled kitchen island! Share your before-and-after photos in the comments or tag us on social media with #UpcycledKitchenDIY. Got questions about sourcing materials or customising your island? Drop them below, and our community will help!